
How to use the Film Photographer’s Notebook.
First of all, you must add all the information about what Camera equipment you use, by selecting the cog wheel in the bottom menu to access the Settings. After adding all your Camera, Lens, Film Stock and Filter data, you are ready to record all the data you need, shot-by-shot, for easy reference later.
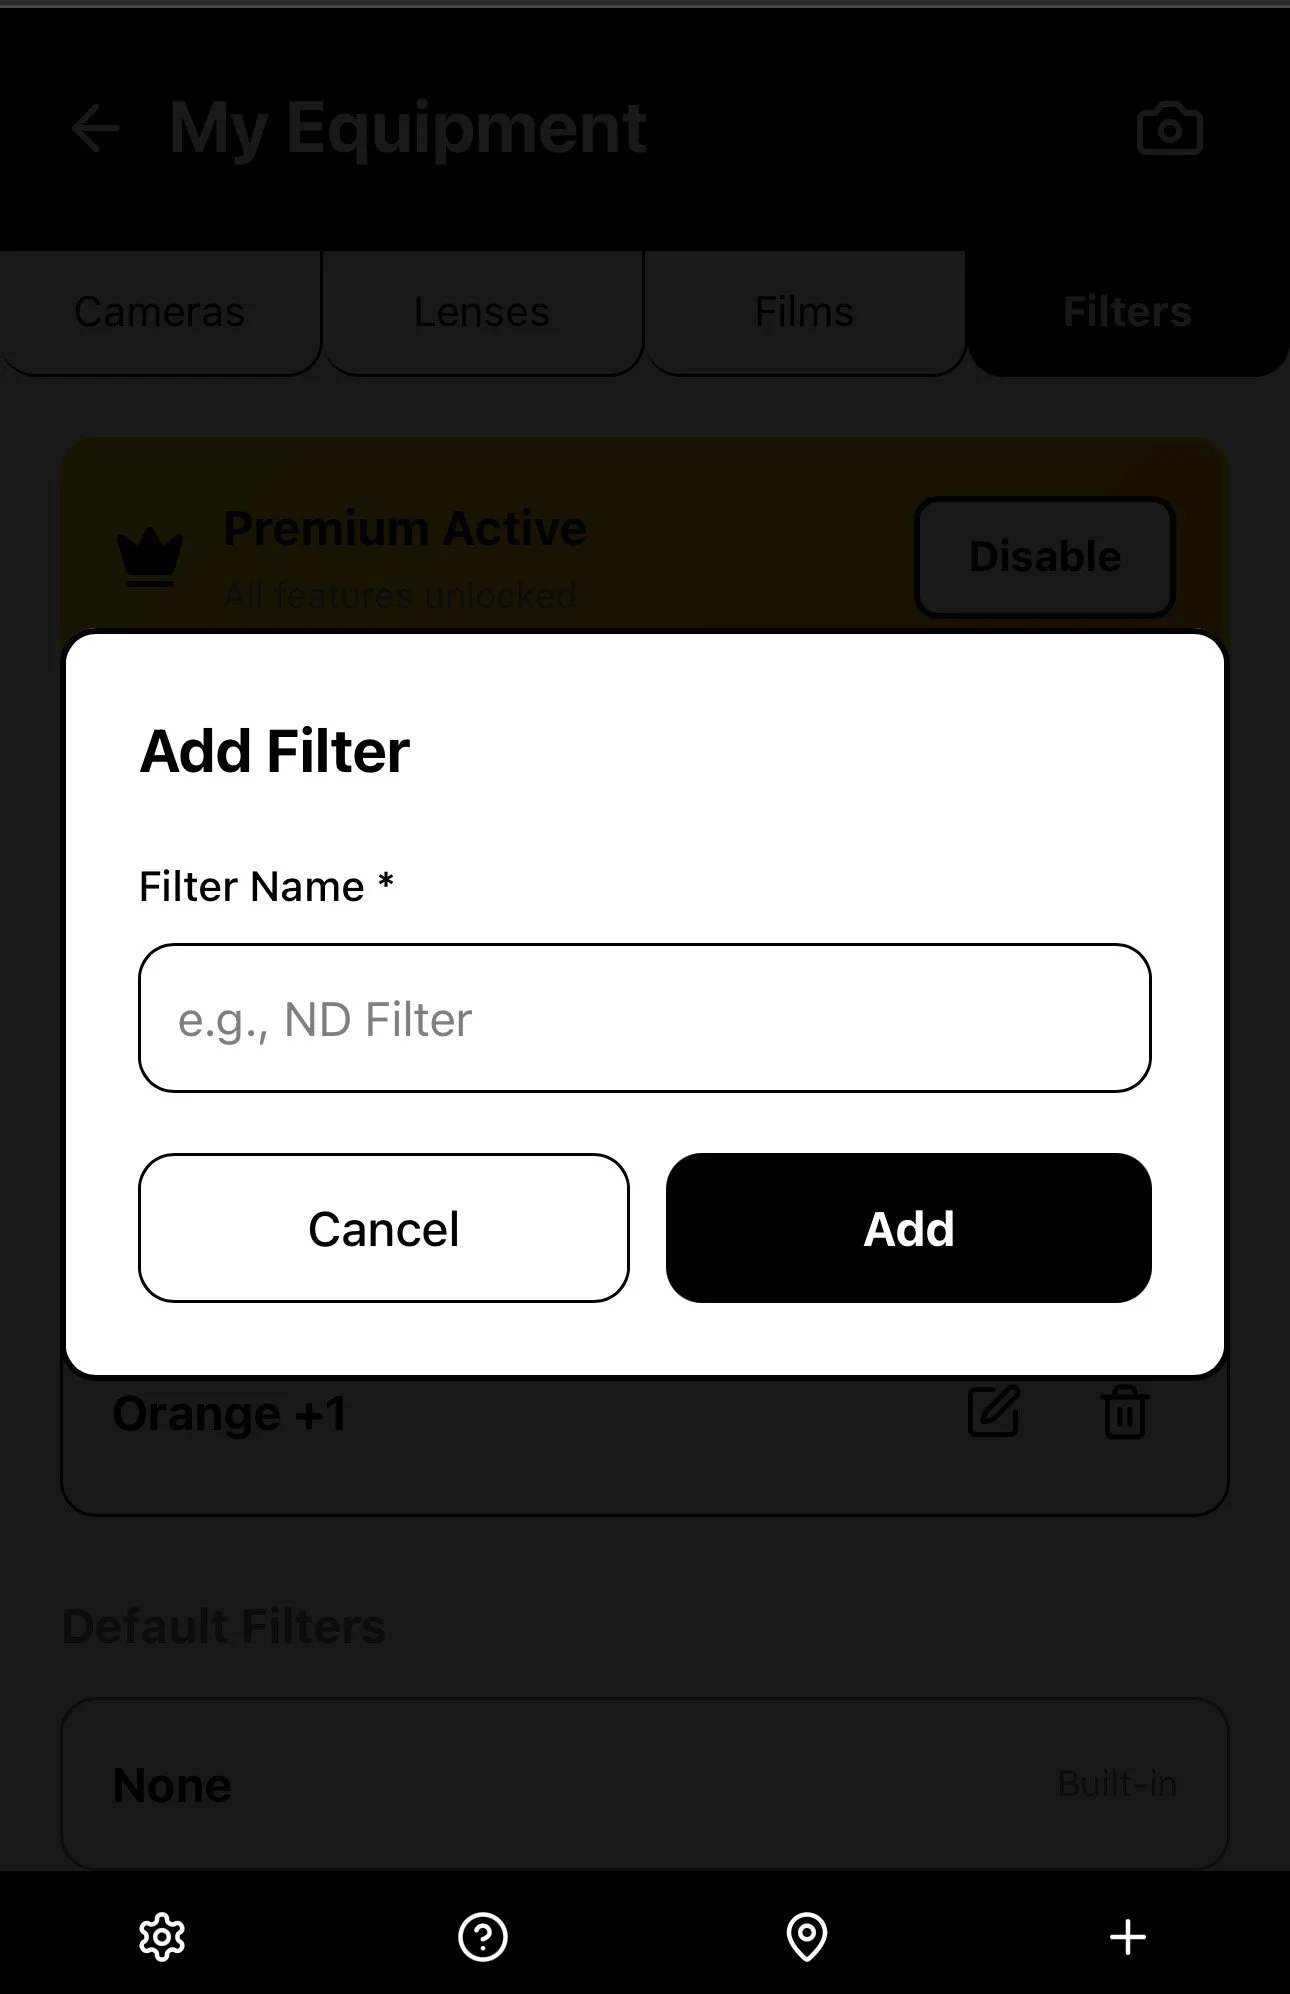
Step 1 - Add your camera equipment
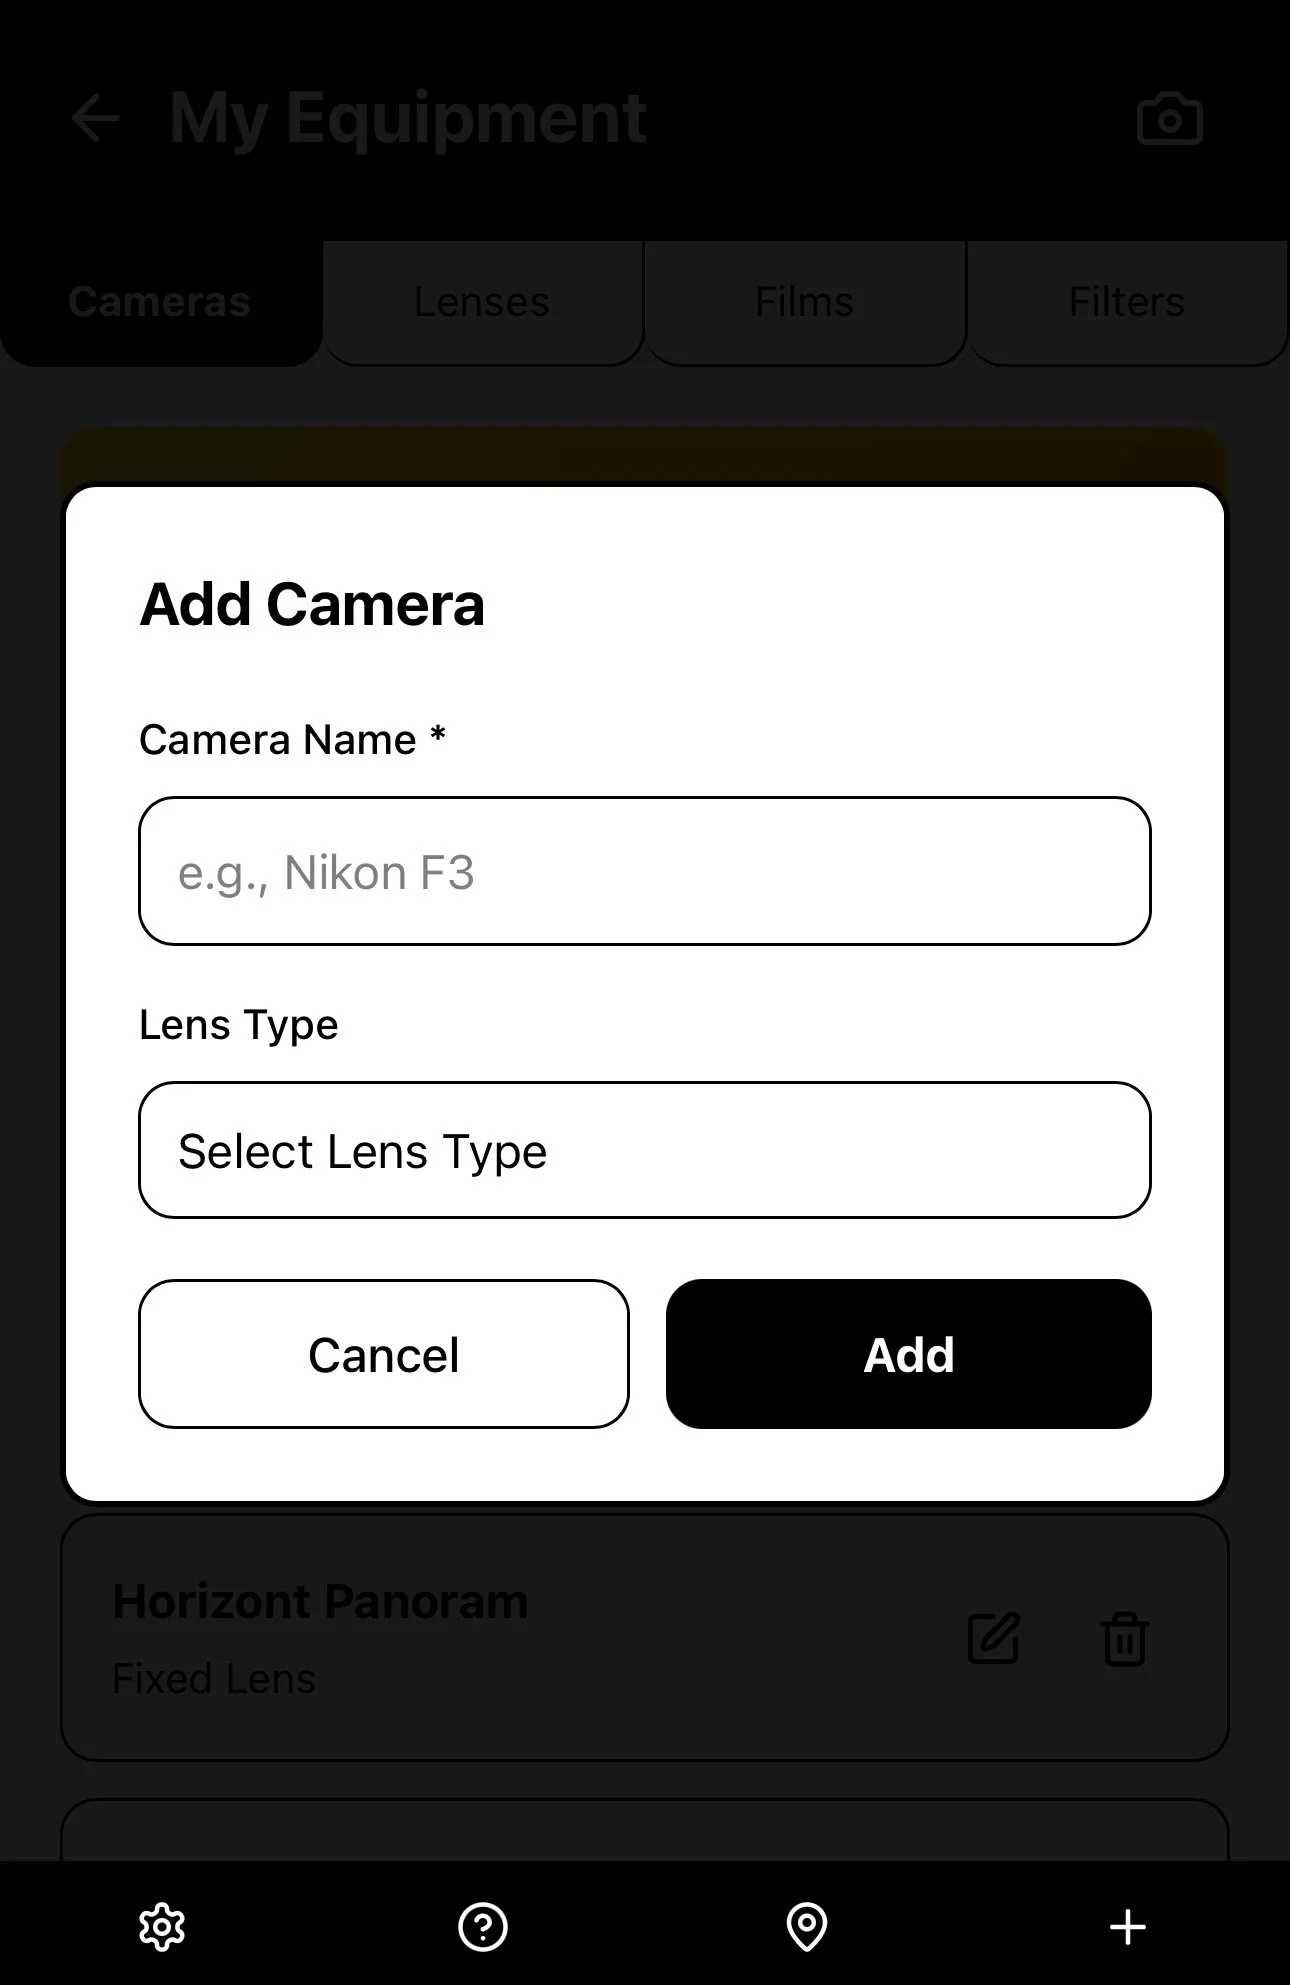


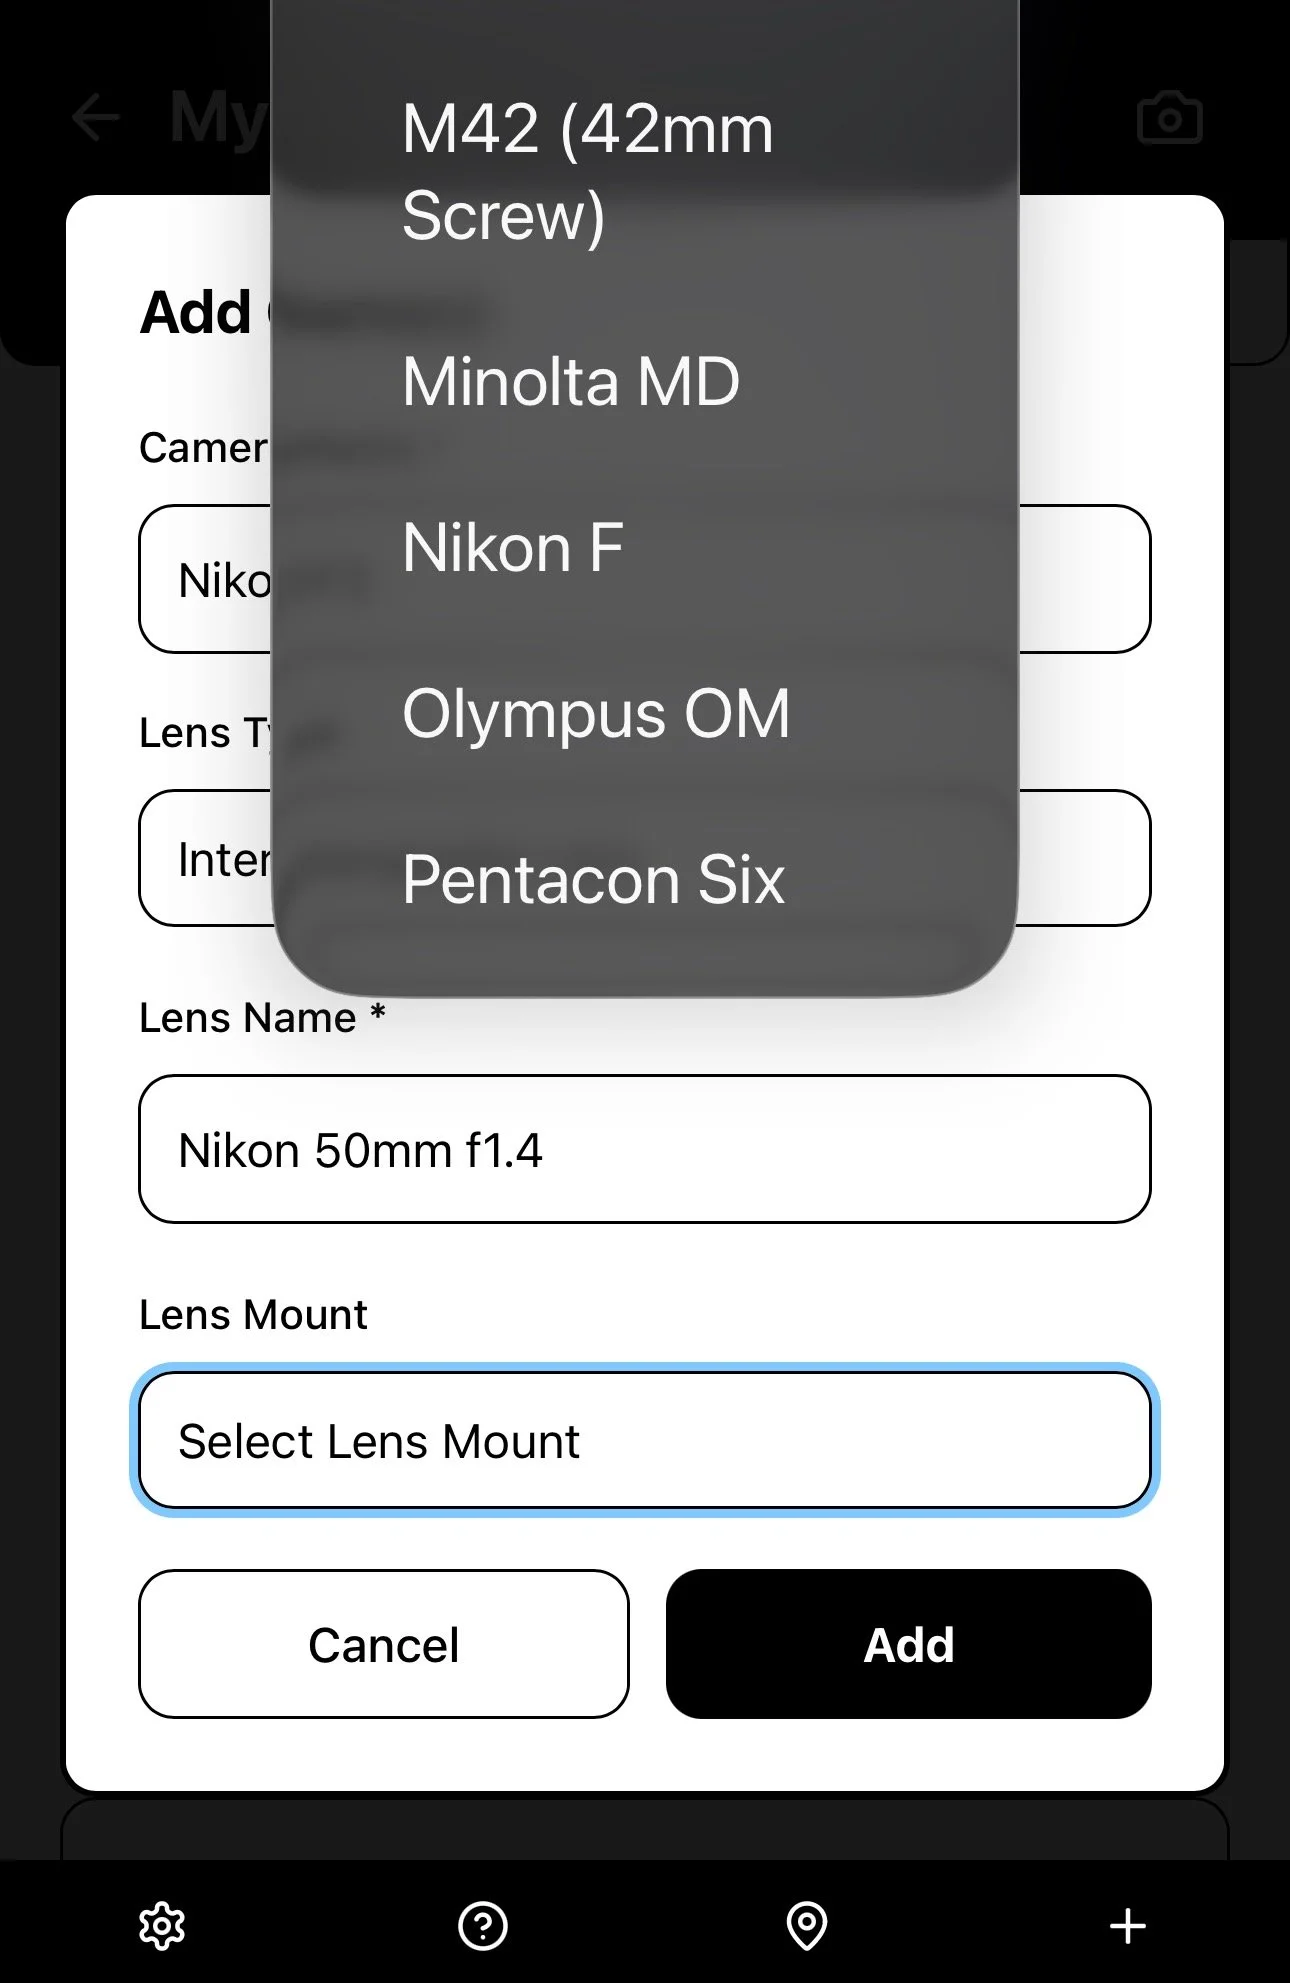
It is important to categorise your Cameras as either Fixed Lens cameras or Interchangeable Lens cameras, in order to maintain the correct data throughout the app.
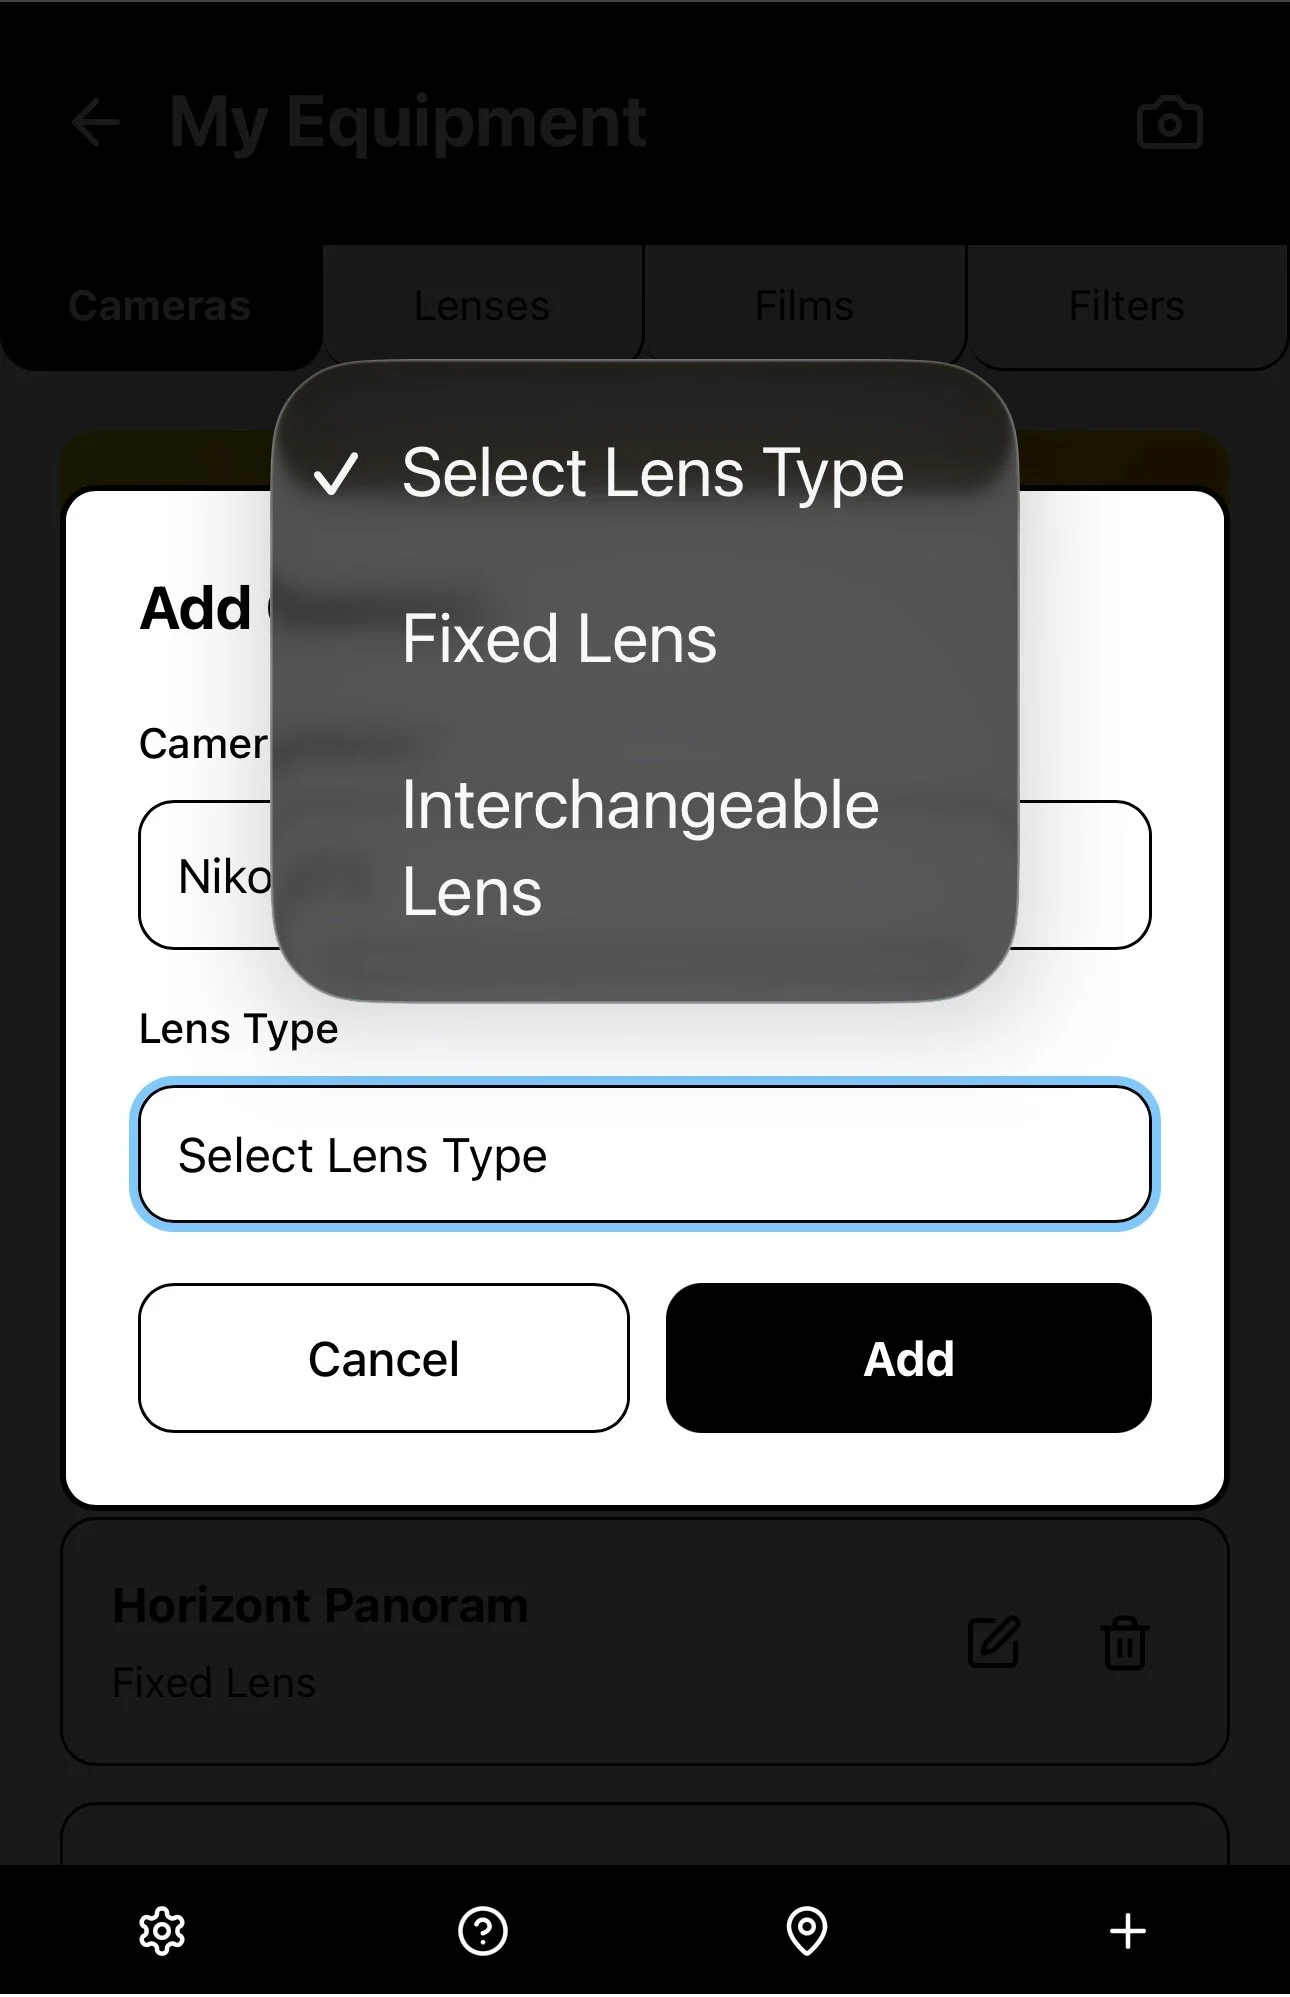
If you are adding an Interchangeable Lens Camera, you will first need to choose a mount type for that camera, e.g. Canon EF or M42 Screw Mount. A list of all lenses with that mount will be shown in the drop-down menu. You can choose an existing lens, or you can add a new lens. This will be the default Lens whenever you select this Camera for a Roll of film.
The Lens data will automatically appear in the Lens data section, where you can also add the details of all your other lenses. With an Interchangeable Lens camera, you can record whichever Lens you used for each individual frame.
Once you’ve added all the information about the camera equipment and film types you use, you are ready to create a New Roll by selecting the + icon in the bottom menu bar.
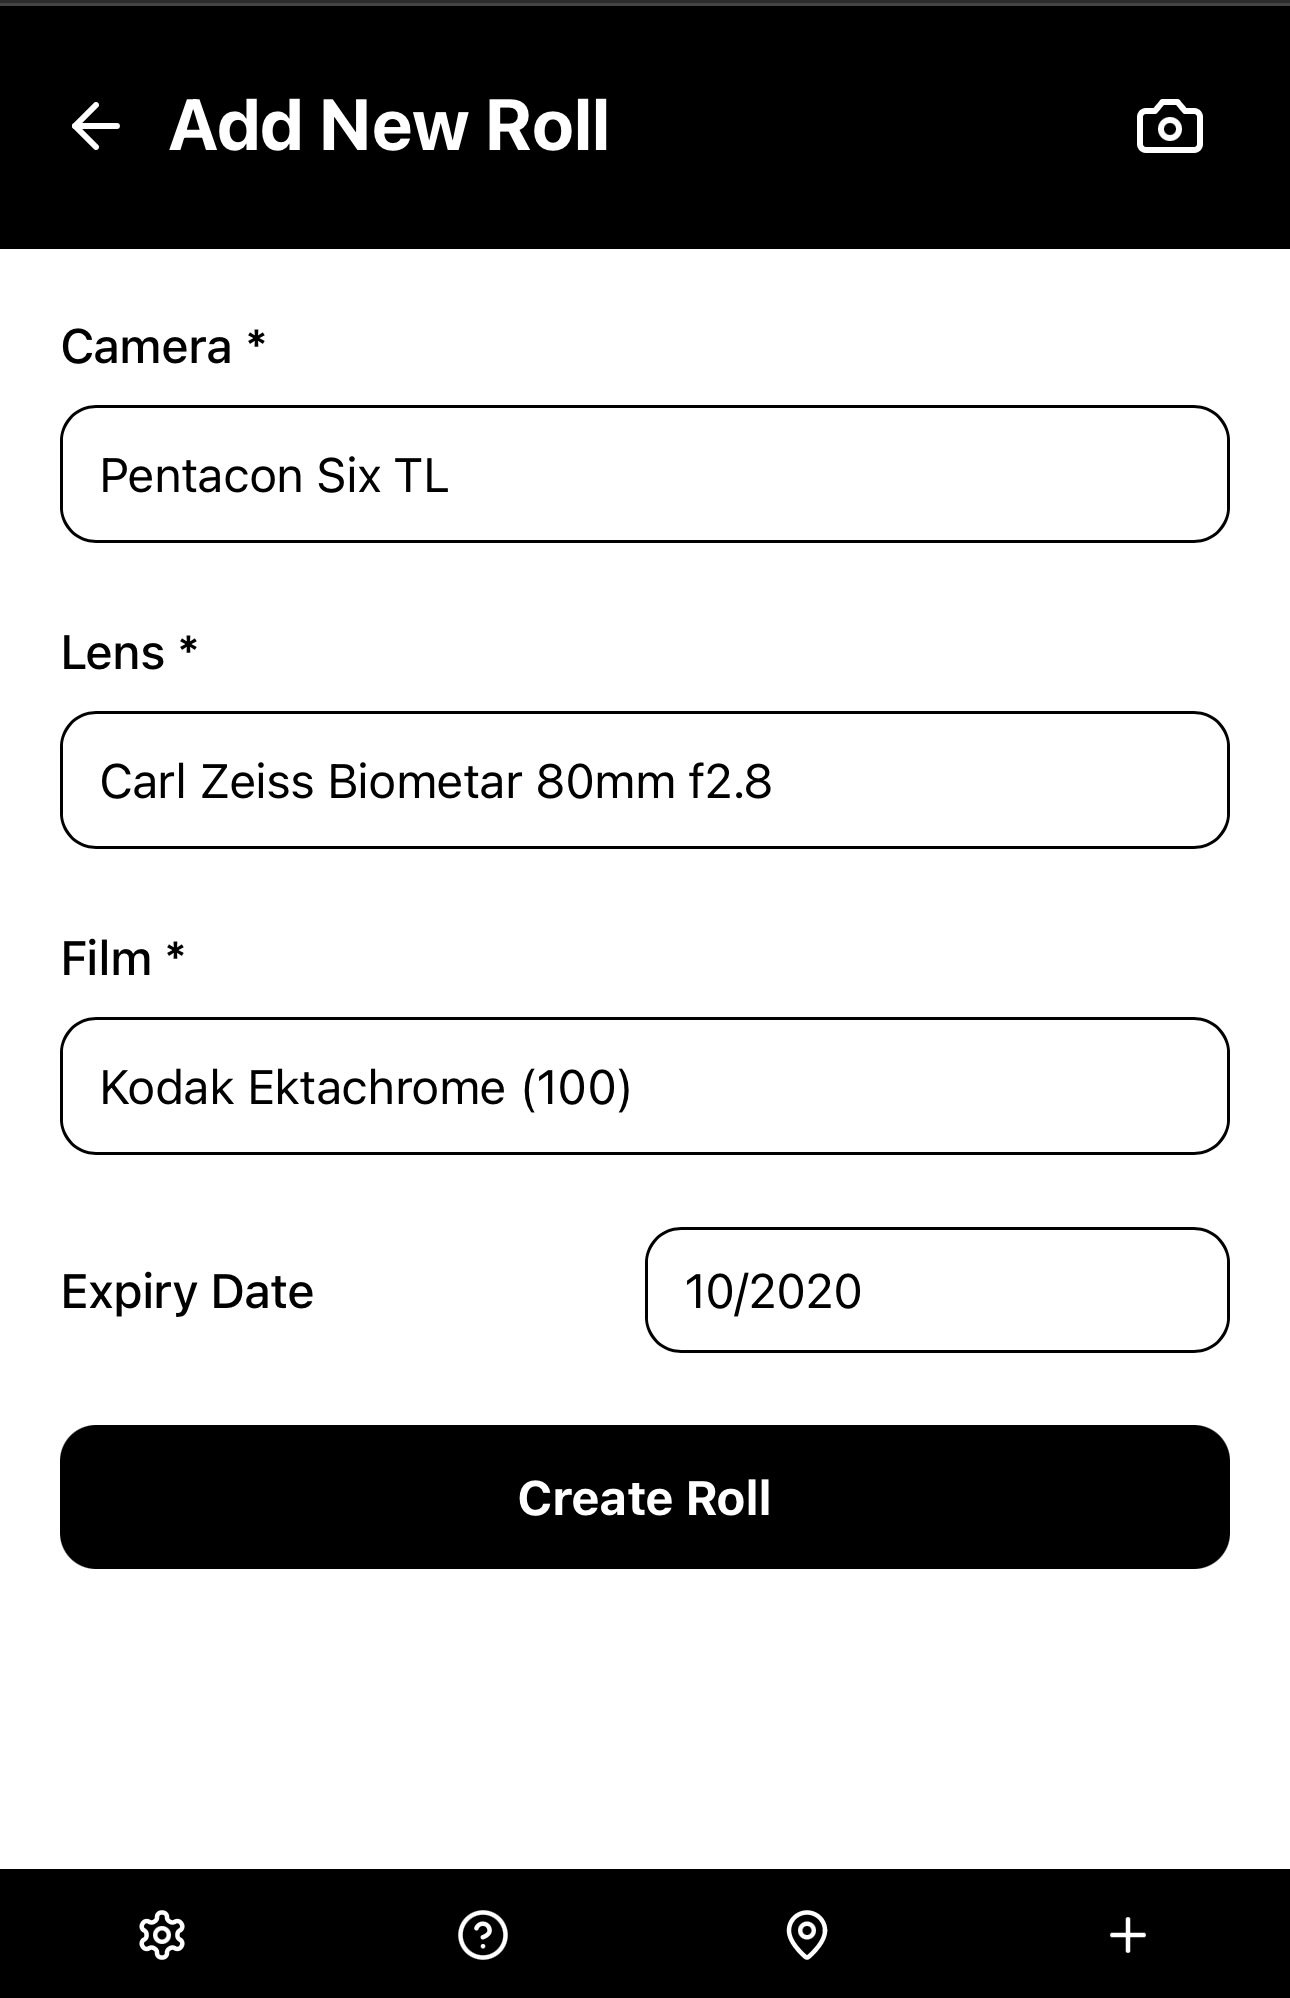
Step 2 - Create a new roll
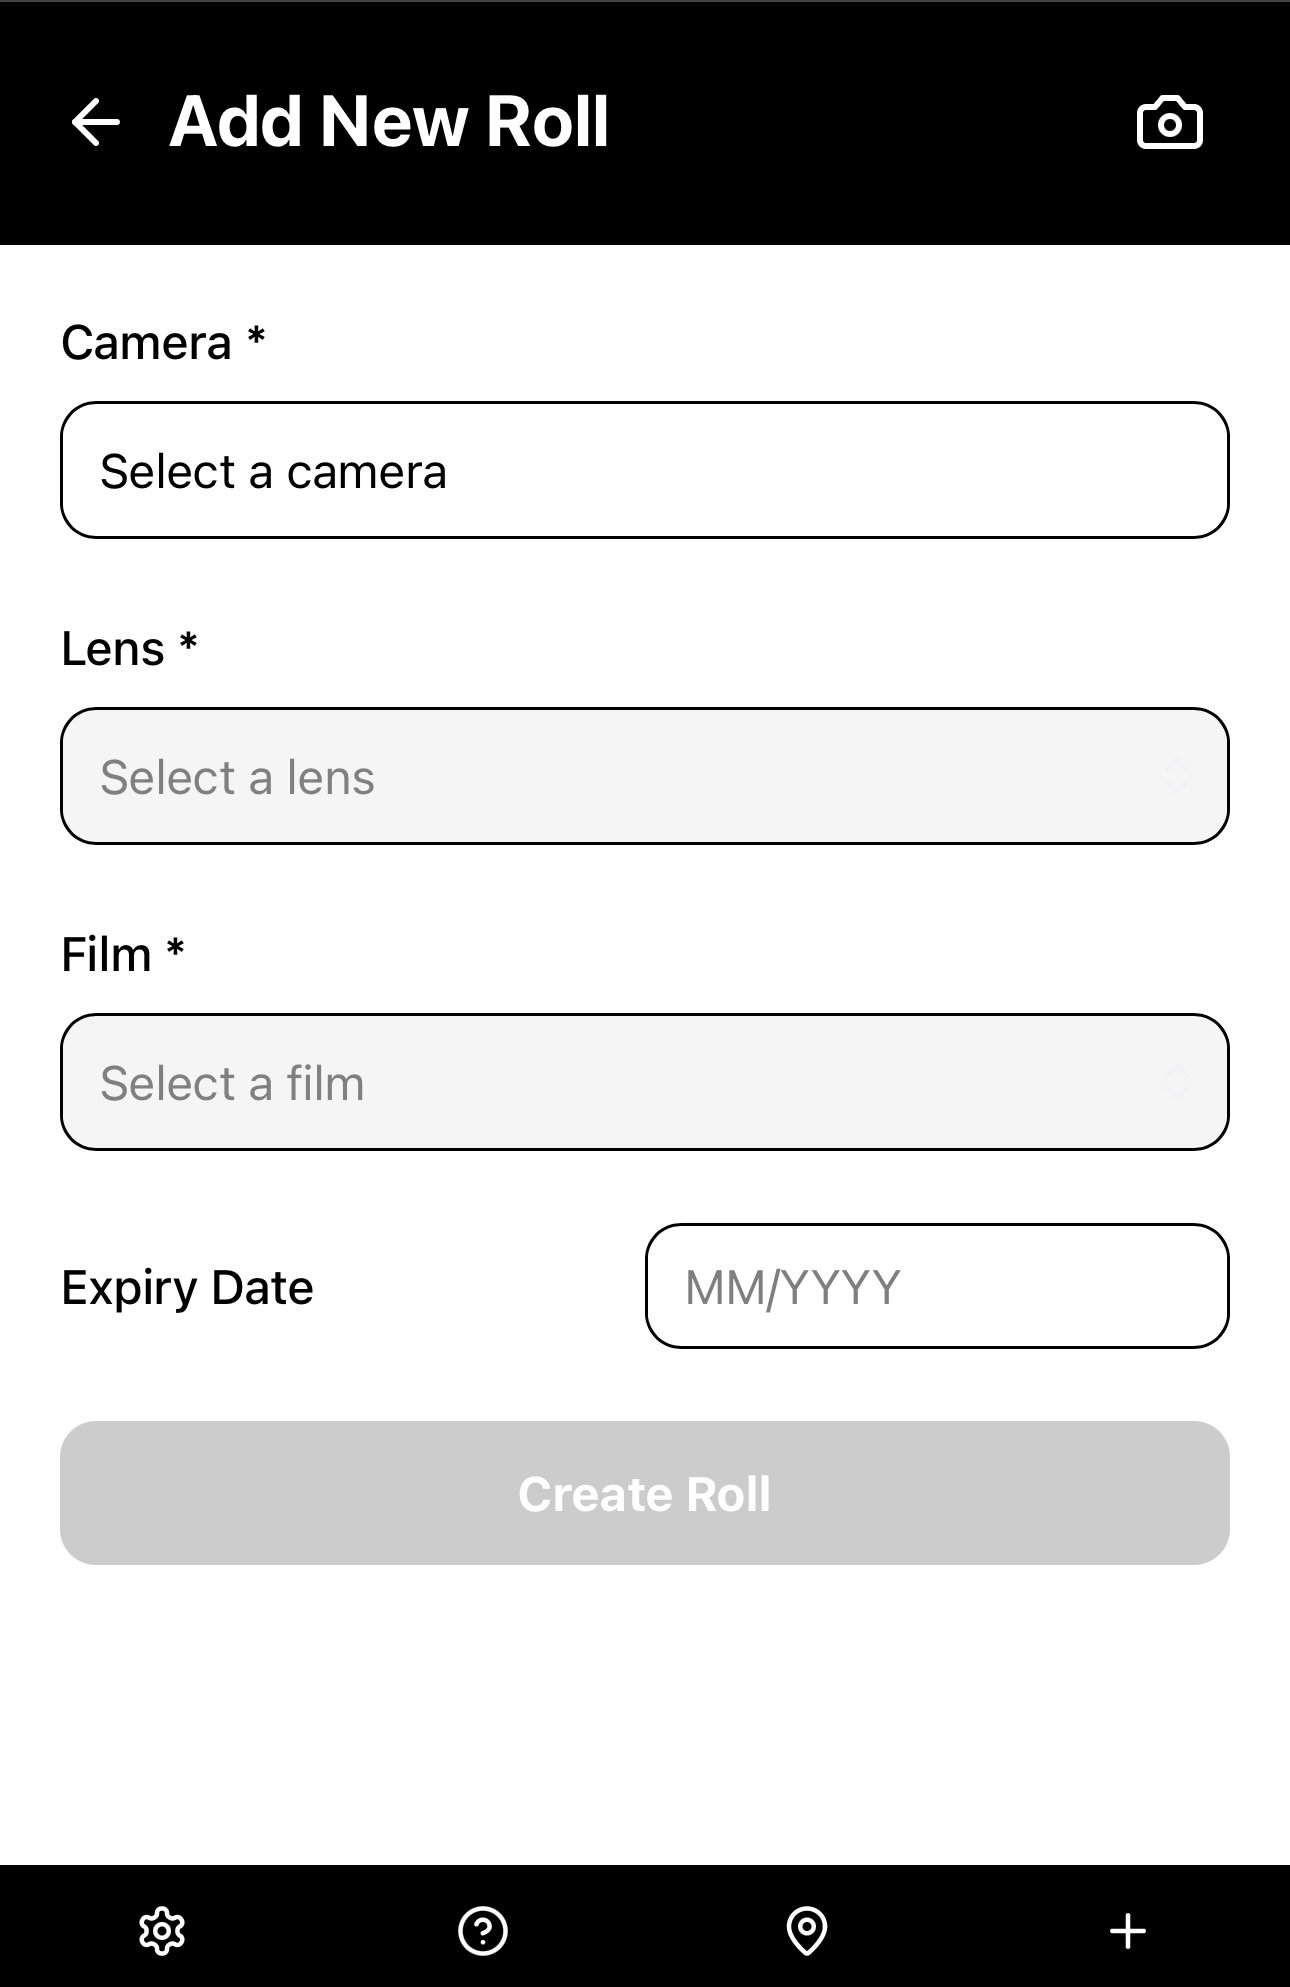
In the New Roll page, select a Camera, select a Lens if it is an Interchangeable Lens camera, choose a Film stock and add its expiry date (optional), then select “Create Roll”.
Step 3 - Add Exposure Data frame-by-frame
Once you’ve added all the information about the camera equipment and film types you use, you are ready to create a New Roll by selecting the + icon in the bottom menu bar.
Once you have created a New Roll, you can now enter the exposure data frame by frame, including Lens (only for Interchangeable Lens cameras), Aperture, Shutter Speed, and Filters.
You can add a text description of the Location, as well as the GPS coordinates of the Location if you have allowed your phone to access Location Services while using the Film Photographer’s Notebook app (Premium users only).
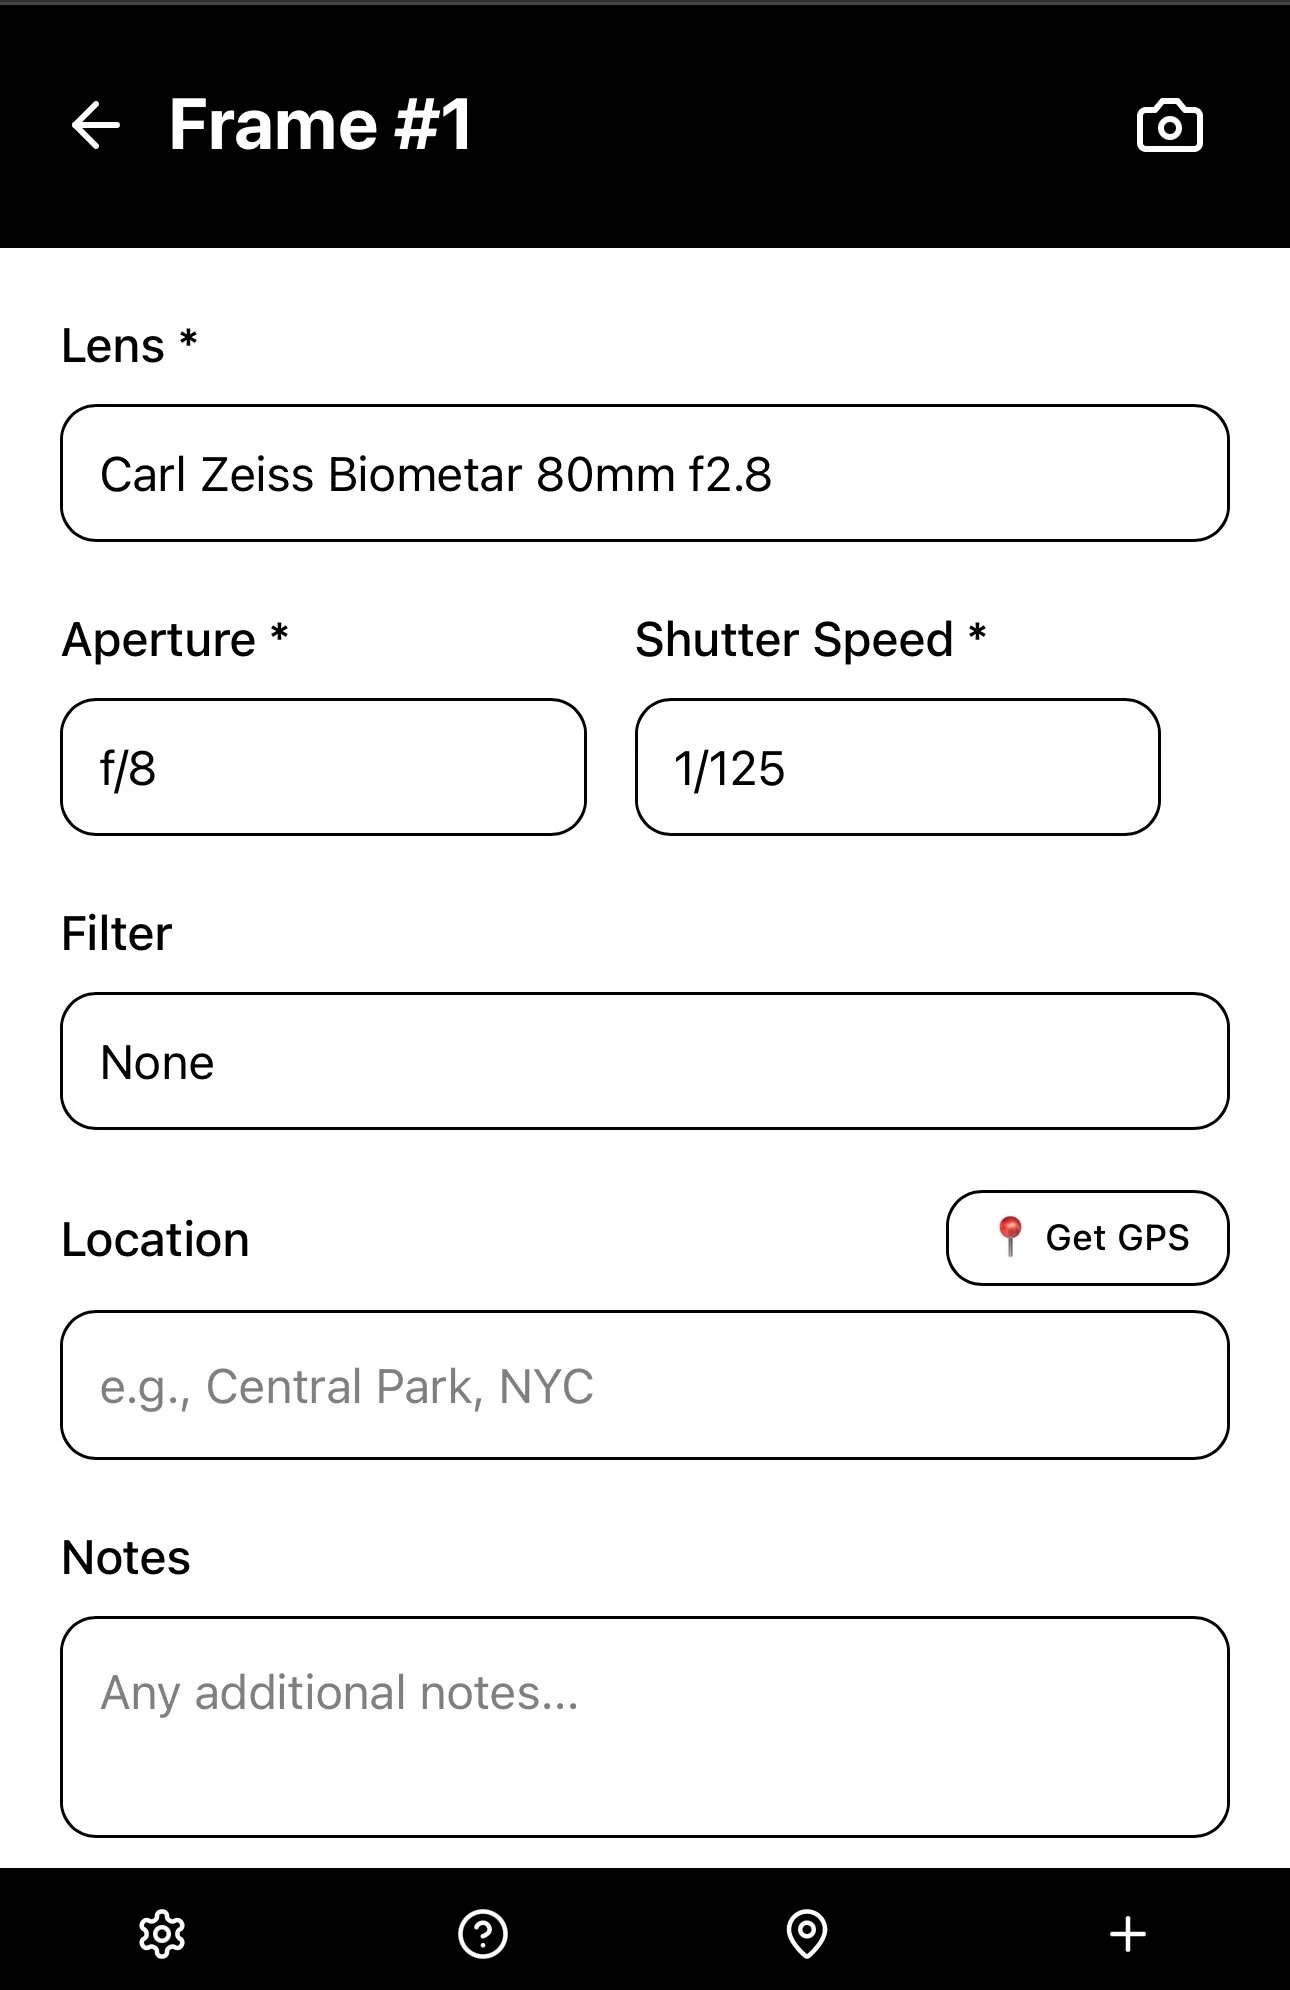
Select “Add Shot” and that data is stored as “Frame #1”. To add the same data for the next Frame, simply select “Add New Frame”and carry on until the end of your film.
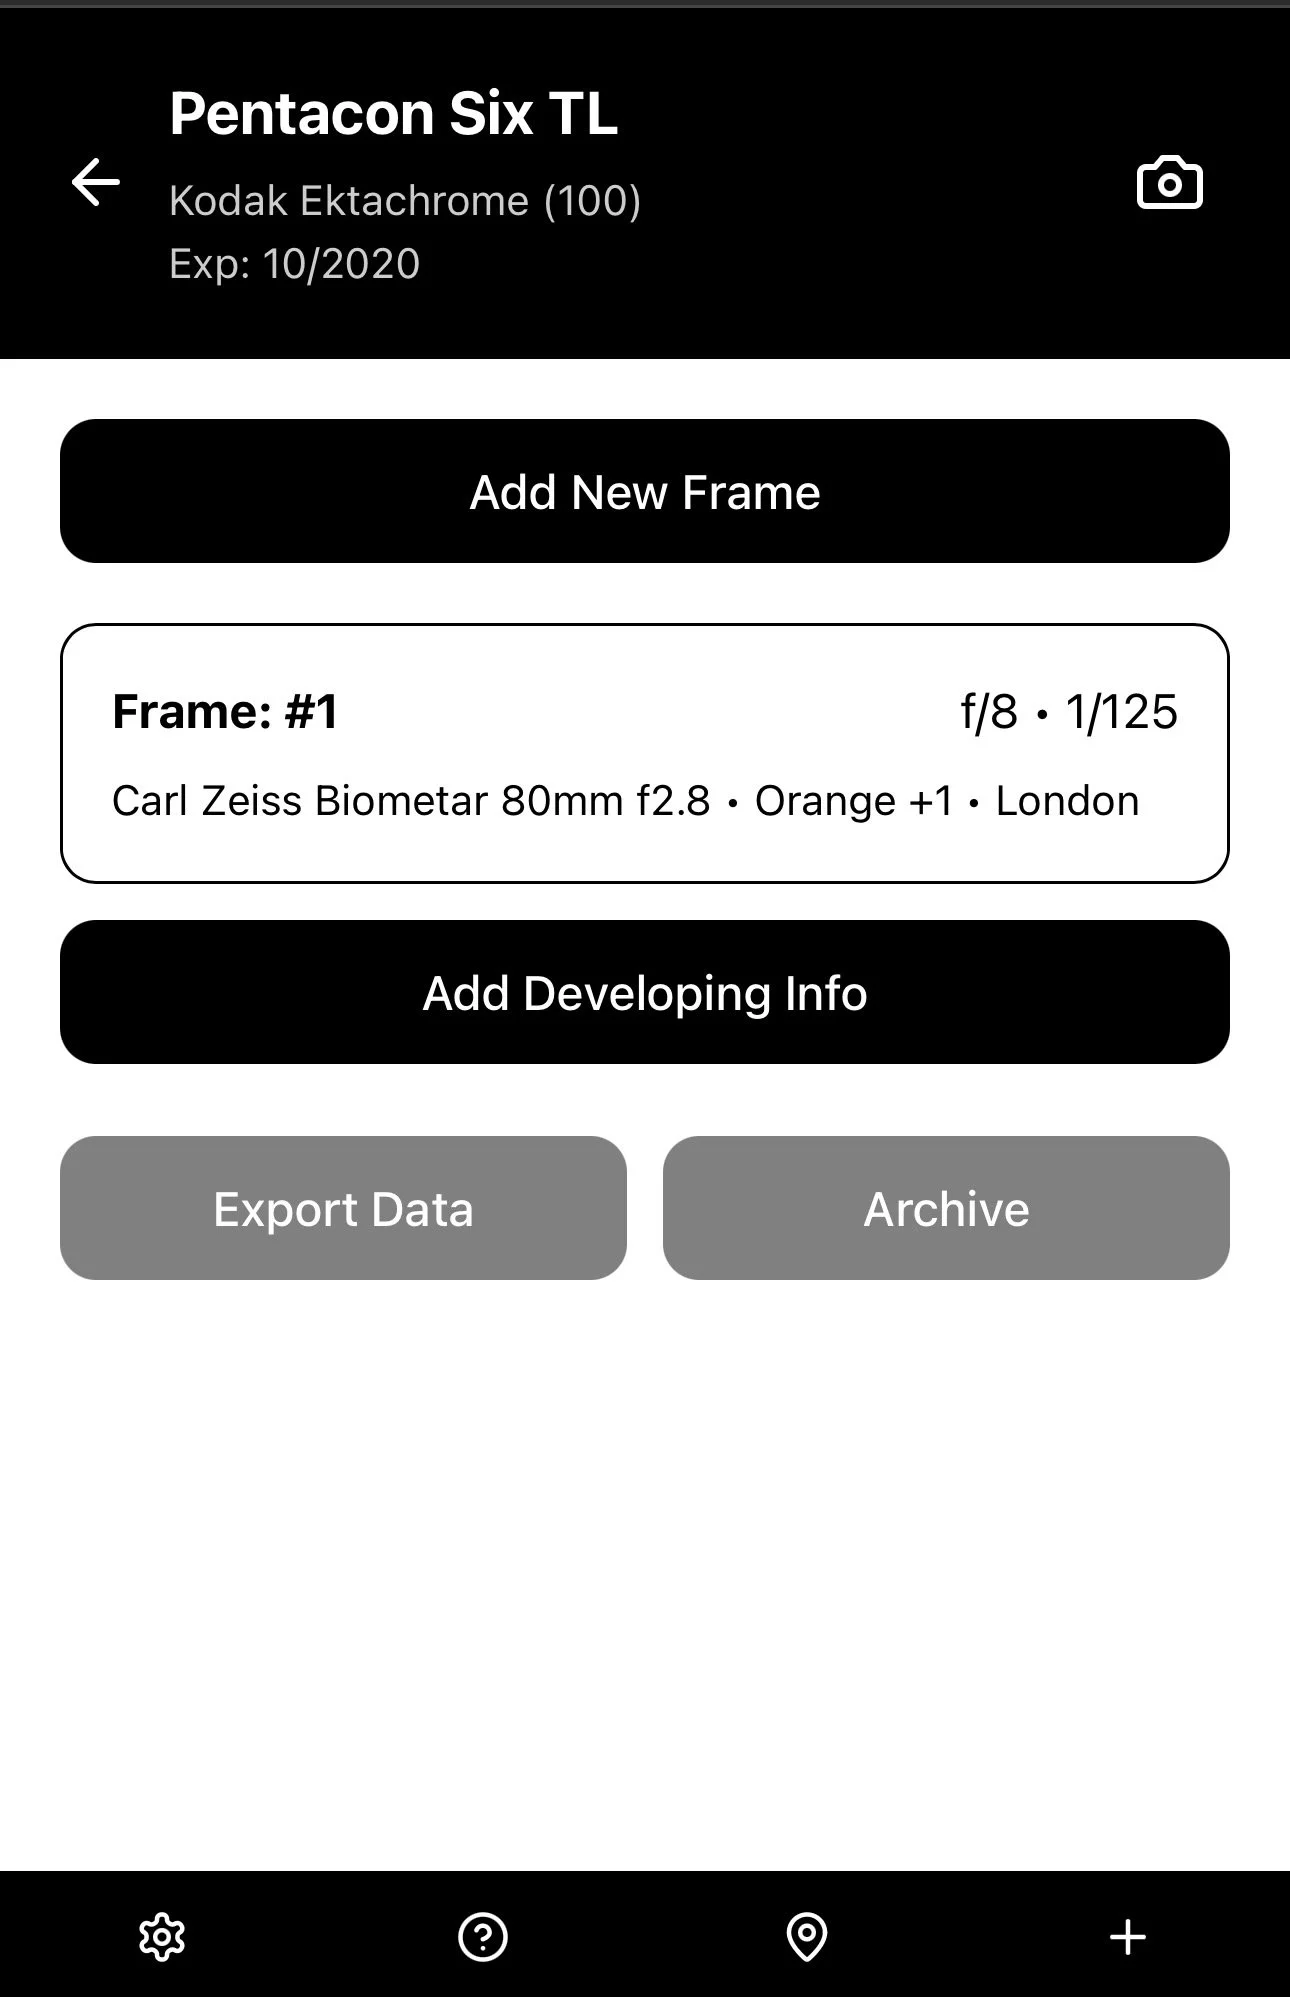
This New Roll now shows on the Homepage as the most recent film entered into the Film Photographer’s Notebook, along with a shot counter for the number of shots recorded for that specific roll of film. To add more Shots, simply select the desired Camera and Film combination from the Homepage and continue adding more exposure data frame by frame.

Step 4 - Add developing information
Once you’ve added all the information about the camera equipment and film types you use, you are ready to create a New Roll by selecting the + icon in the bottom menu bar.
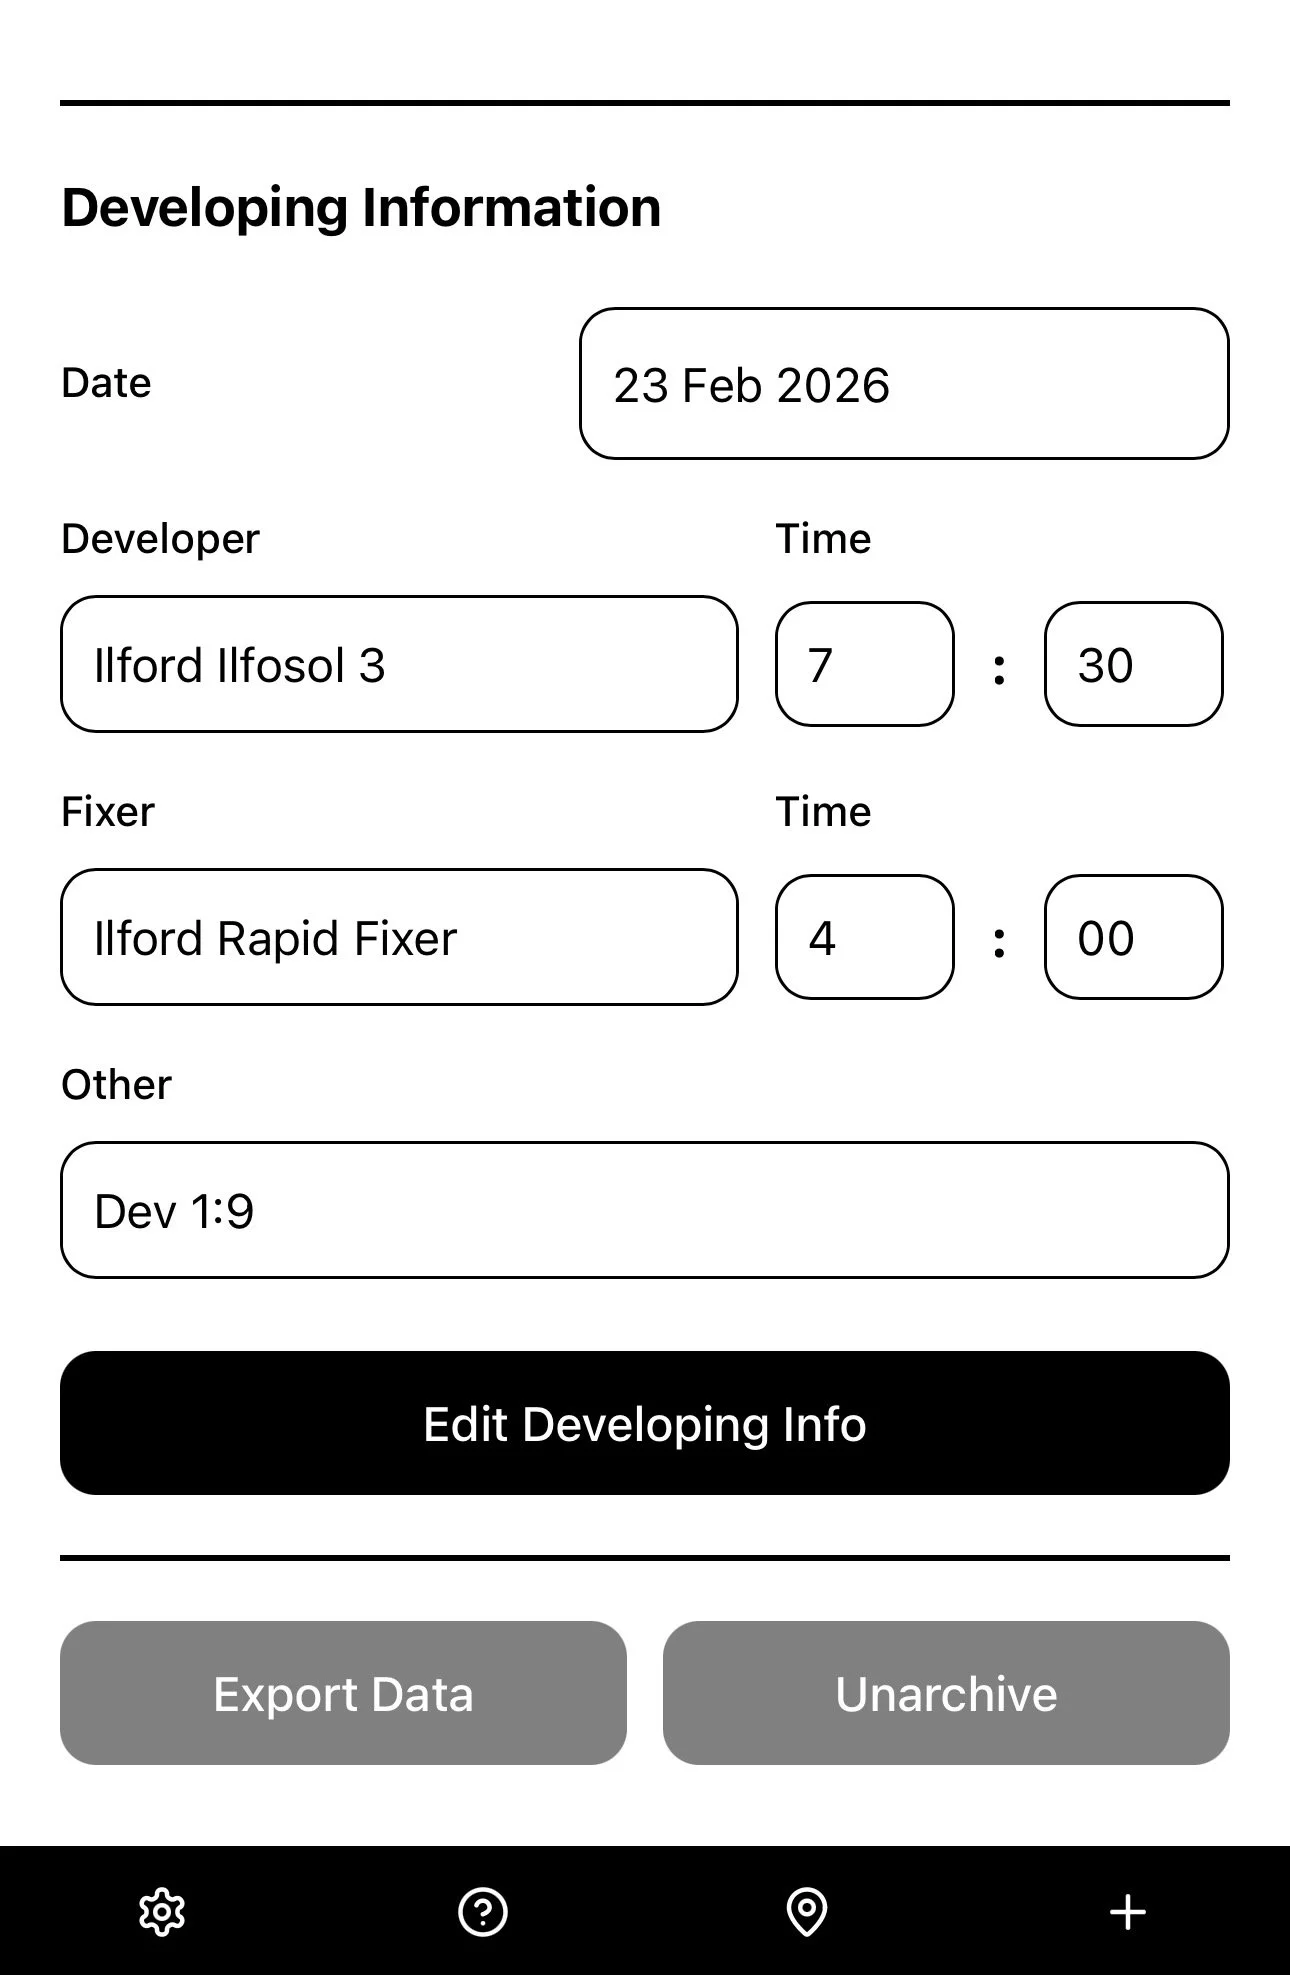
For those of you who develop your own films at home, you can also add information about which Developer and Fixer you used, as well as the times for each stage of the developing process. (Premium Users only).
Step 5 - Export data to CSV or PDF
Once you’ve added all the information about the camera equipment and film types you use, you are ready to create a New Roll by selecting the + icon in the bottom menu bar.
You can also easily export all of the Exposure and Developing Information into a standard CSV file for use in any spreadsheet format, or a formatted PDF for easy printing and filing alongside the negatives in your archive folders. (Premium users only).
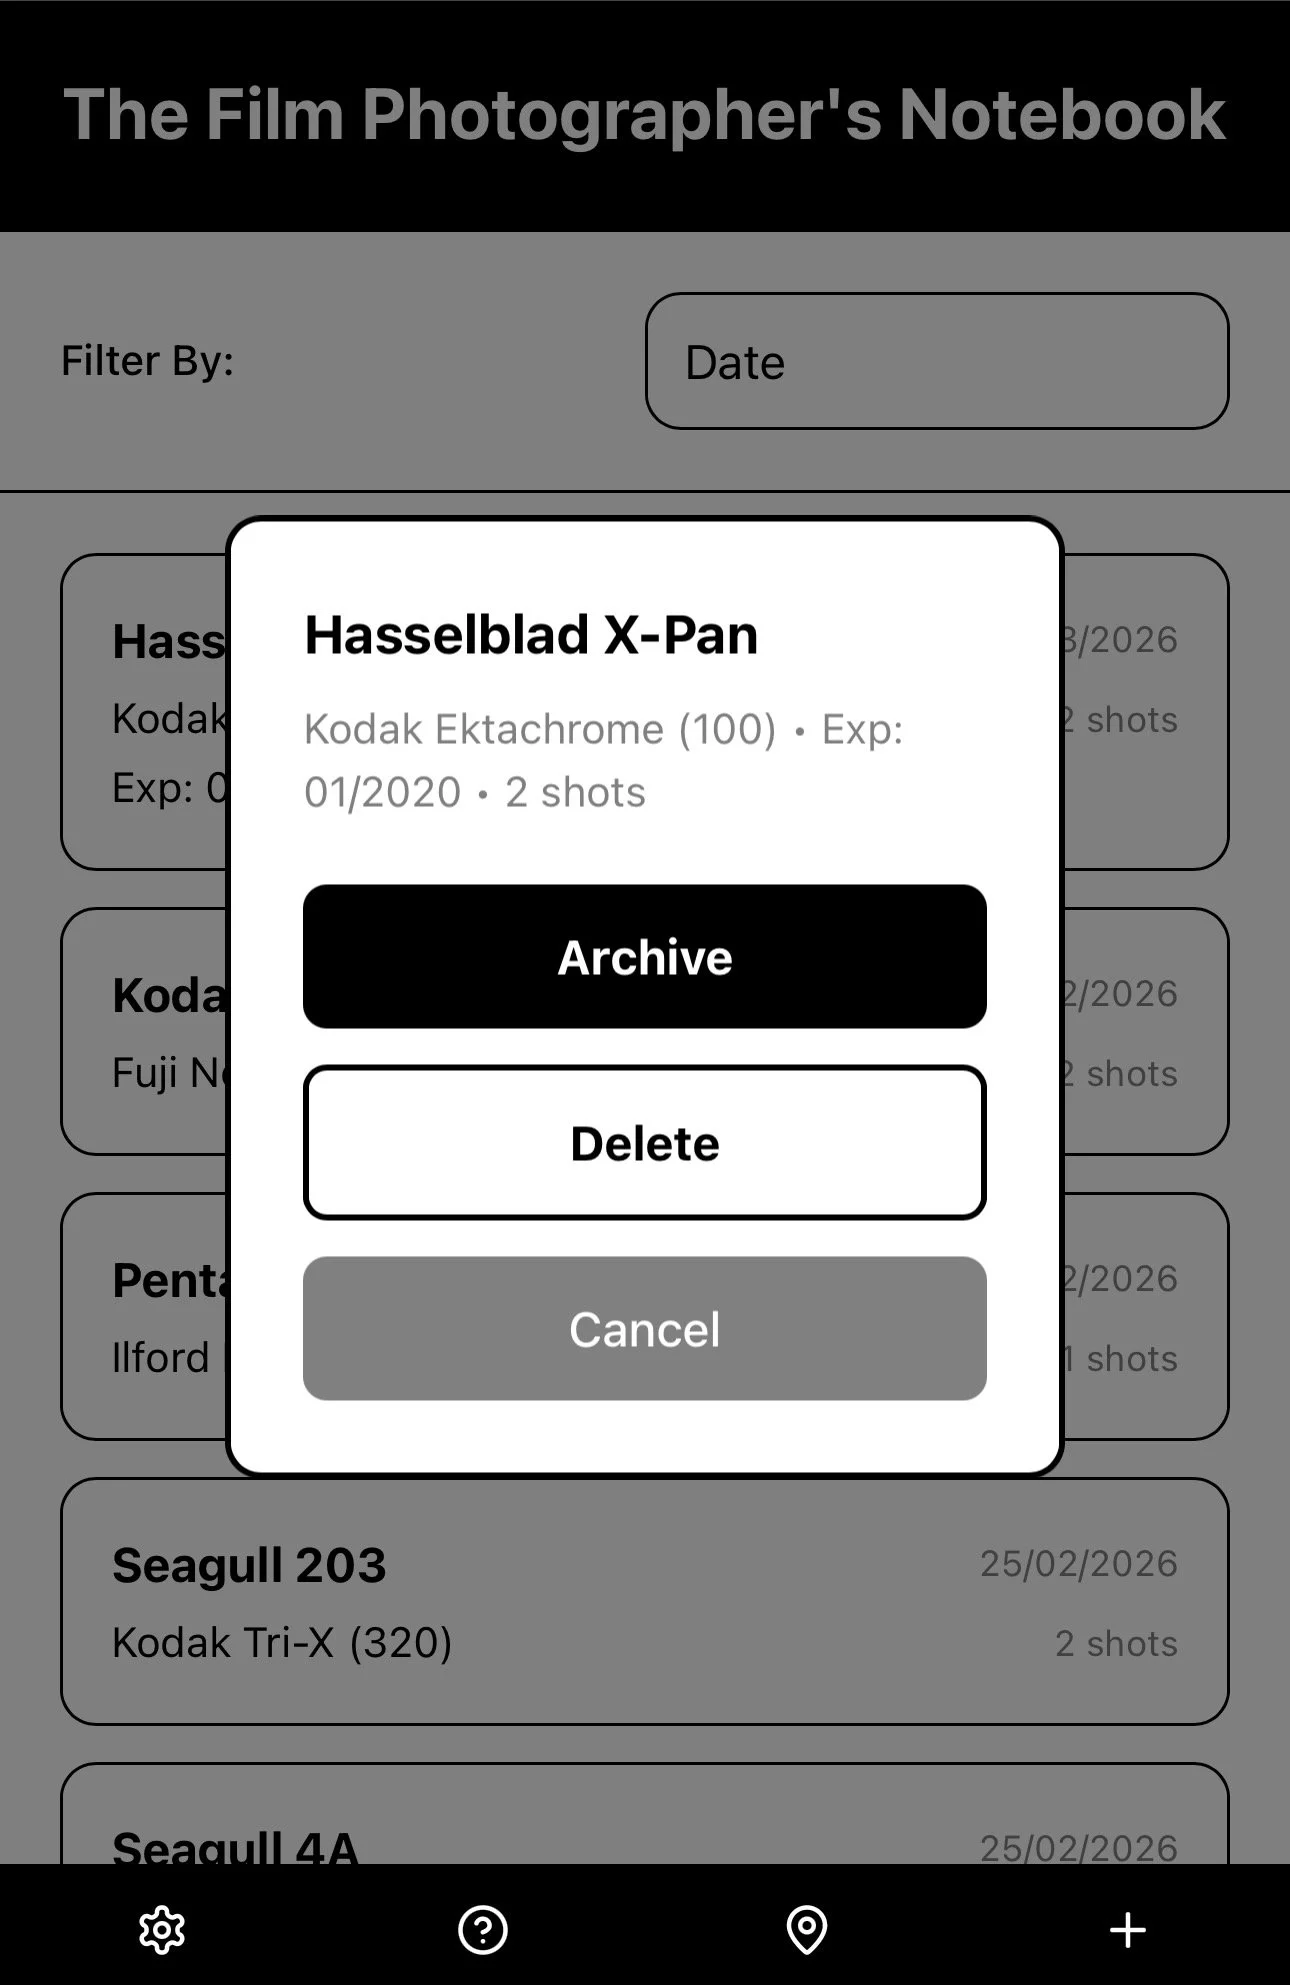
Completed films can be moved from the Homepage to the Archive section which is arranged by Year, in order to make managing your current films easier. Films can be Unarchived or Deleted at any time by a simple press-and-hold. (Premium users only).